The Sony ZV-E10 is a favorite among creators for its stunning video performance and easy-to-use design. But while its built-in microphone is decent, it struggles in noisy environments or when you need clean, professional sound from a distance. That’s where the DJI Mic comes in — a compact wireless microphone system that delivers crisp, high-quality audio.
If you’re new to connecting external mics, the setup might seem tricky at first. Don’t worry — this step-by-step guide will show you exactly how to connect your DJI Mic to your Sony ZV-E10, adjust the right settings, and fix any common audio problems along the way.
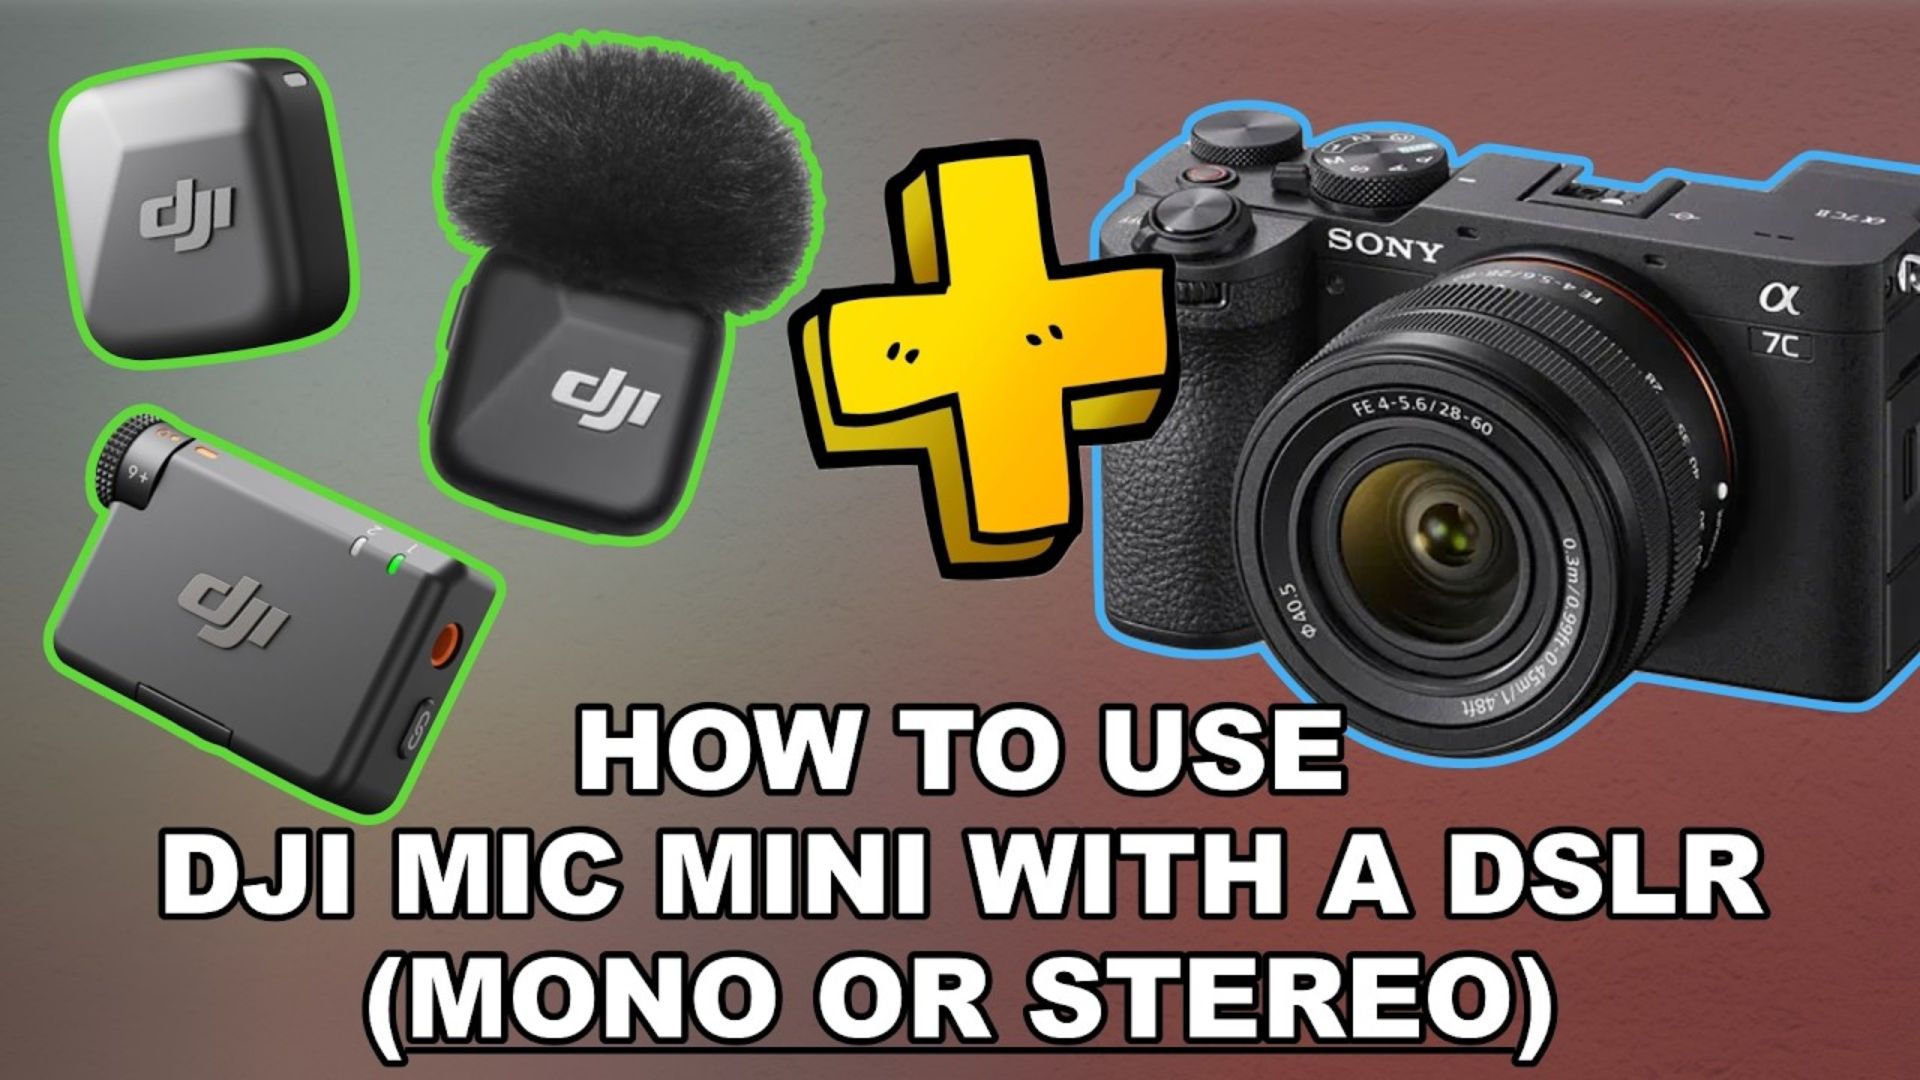
What You’ll Need Before You Start
Before we dive into setup, make sure you have everything you need:
- Sony ZV-E10 camera
- DJI Mic system (includes transmitter and receiver)
- 3.5mm TRS to TRS cable — the short cable included in the DJI Mic kit
- Cold shoe mount (optional but recommended) — to attach the receiver securely to your camera
Having all these ready will make the process simple and efficient.
Method 1: Connect Using the Standard 3.5mm Cable
This is the easiest and most reliable way to pair your DJI Mic with the Sony ZV-E10. It requires no extra adapters or settings beyond your camera’s built-in options.
Step 1: Power On the Devices
Turn on your Sony ZV-E10. Then power on the DJI Mic receiver by holding the side button until the display lights up. Make sure your transmitter (the clip-on mic) is also on and paired with the receiver. They usually come pre-linked from the factory.
Step 2: Plug In the Cable
Take the 3.5mm TRS to TRS cable and connect one end to the OUTPUT port on the DJI Mic receiver. Plug the other end into the MIC input on the side of your Sony ZV-E10.
Step 3: Mount the Receiver
Slide the DJI Mic receiver into your camera’s cold shoe slot on top. This helps keep your setup tidy, stable, and free from cable snags while recording.
Step 4: Adjust Camera Audio Settings
Go to your ZV-E10’s Menu → select the Audio (microphone) icon and adjust the following:
- Audio Recording: ON
- Recording Level: Manual
- Wind Noise Reduction: OFF (use the DJI Mic’s furry windscreen instead — it performs better)
Step 5: Set Your Audio Levels
Speak normally while watching your camera’s on-screen audio meter. Adjust your Recording Level so your voice peaks between -12dB and -6dB (the yellow range). Avoid the red zone to prevent distortion.
On the DJI Mic receiver, leave the gain setting at 0dB for best results and fine-tune the levels from your camera.
Once done, hit record — you’re ready to capture crystal-clear, wireless audio!
Troubleshooting Common Issues
Even with a correct setup, small issues can pop up. Here’s how to fix the most common ones:
1. No Sound or Cutting Out
- Check that the cable is fully inserted into both the receiver and the camera.
- Make sure the DJI Mic receiver isn’t in “Mode 2” (smartphone mode). It should display bouncing audio levels on the screen.
2. Hissing or Background Noise
- Lower your camera’s Recording Level if it’s too high.
- Keep the mic transmitter close to your mouth (within 6–10 inches).
- You can also raise the output gain slightly on the DJI Mic receiver instead of pushing your camera gain too high.
3. Distorted or Clipped Audio
- If your audio sounds harsh or clipped, it means your input level is too high.
- Turn down the camera’s Recording Level until your peaks stay safely below the red zone.
Why the DJI Mic and Sony ZV-E10 Are a Perfect Match
Combining the Sony ZV-E10 with the DJI Mic creates a lightweight, professional-grade video setup. The camera’s 4K recording, smooth autofocus, and product showcase feature make it ideal for vloggers, interviewers, and filmmakers — and the DJI Mic ensures your voice is always clear and professional.
Together, they eliminate the biggest limitation of many compact cameras: poor built-in audio. With this setup, you get freedom of movement, studio-quality sound, and a compact rig that fits in your backpack.
Final Thoughts
Connecting your DJI Mic to the Sony ZV-E10 is simple once you know the right steps. With just one cable and a few quick settings, you can dramatically upgrade your audio quality — no bulky gear or complex setups required.
Your videos will sound as good as they look, helping your content stand out across platforms like YouTube, TikTok, and Instagram.
Now that your setup is complete, hit record, tell your story, and create with confidence.